Model
Mona Lisa and her Nails
During the Renaissance period, it was not common for women to paint their nails or have them done professionally as it is today. Manicures as we know them did not exist yet. However, women of that era still took care of their nails and often used natural remedies to keep them clean and healthy.


Mona Lisa, being a noblewoman, would likely have had access to some of the more luxurious options for nail care. She may have used a mixture of olive oil and lemon juice to strengthen her nails and keep them shiny. She could have also used a pumice stone to file and shape her nails.
It's also possible that she may have painted her nails with natural dyes made from plants or flowers. For example, some women of that era used henna to give their nails a reddish tint.
Overall, while Mona Lisa may not have had access to the modern tools and techniques we use today for nail care, she would have still taken care of her nails in her own way, using the resources available to her during her time.
Mona Lisa Style Templates for Nail Art Inspo, Refine and Onpaint
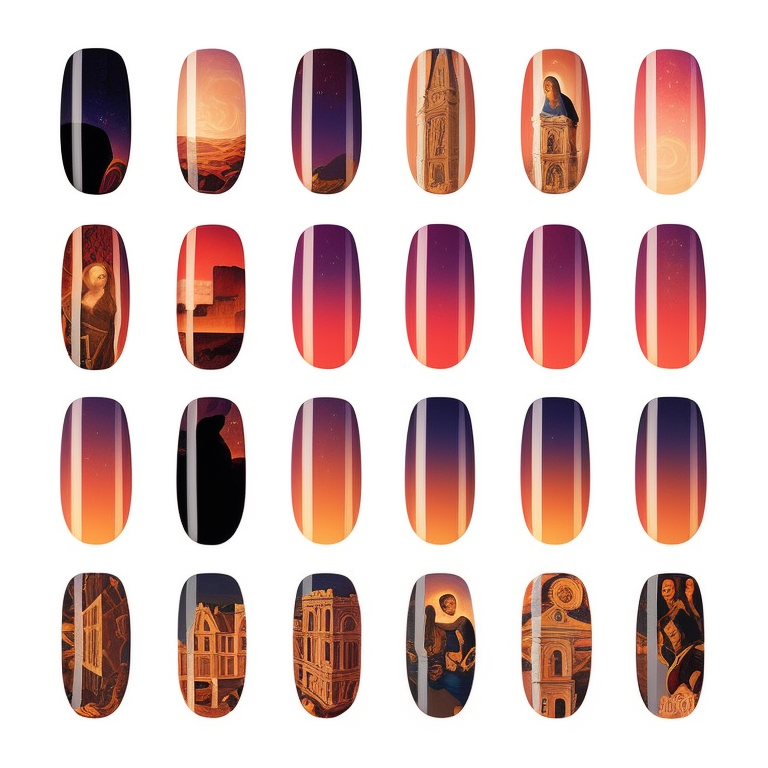


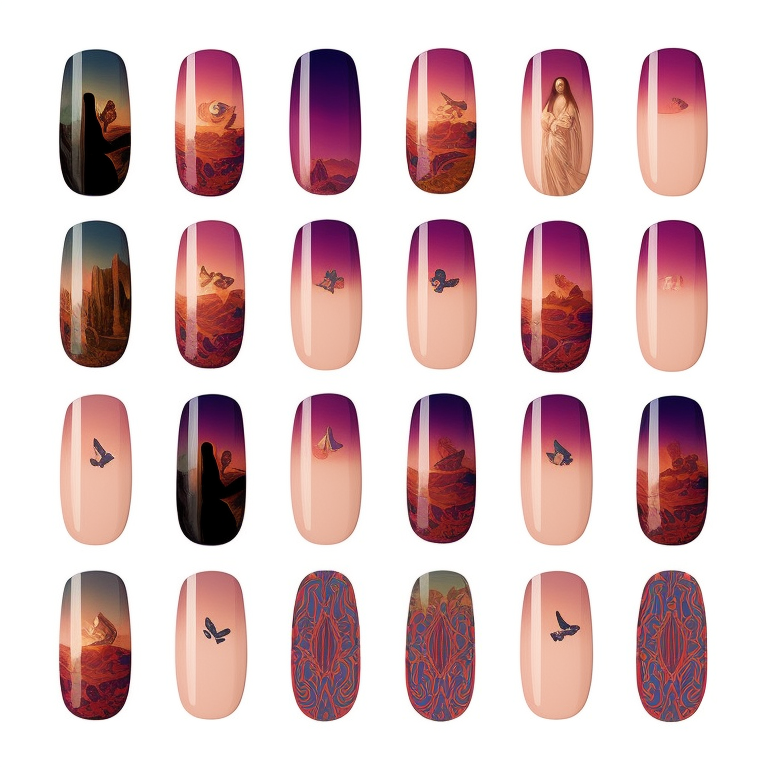

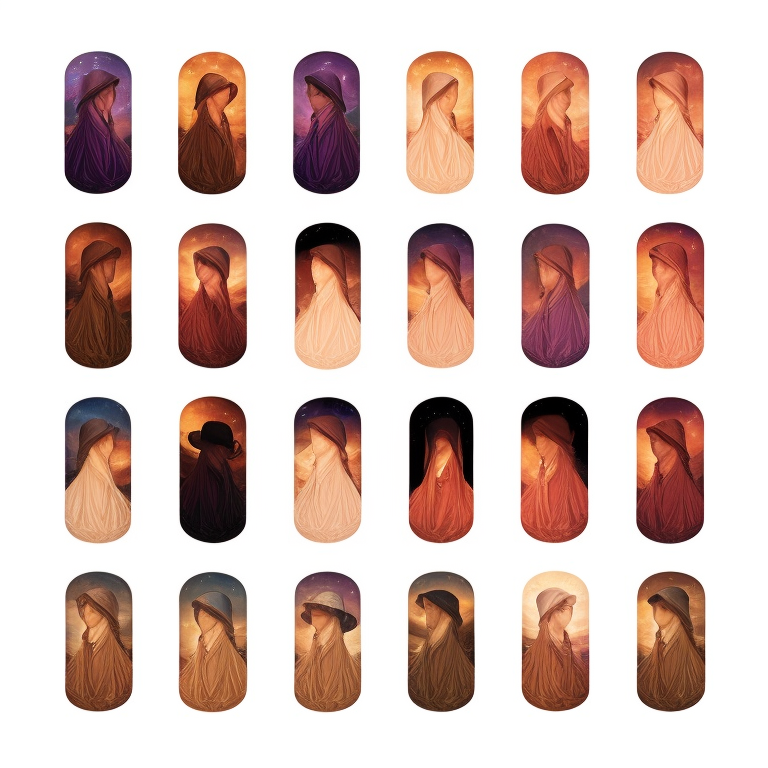
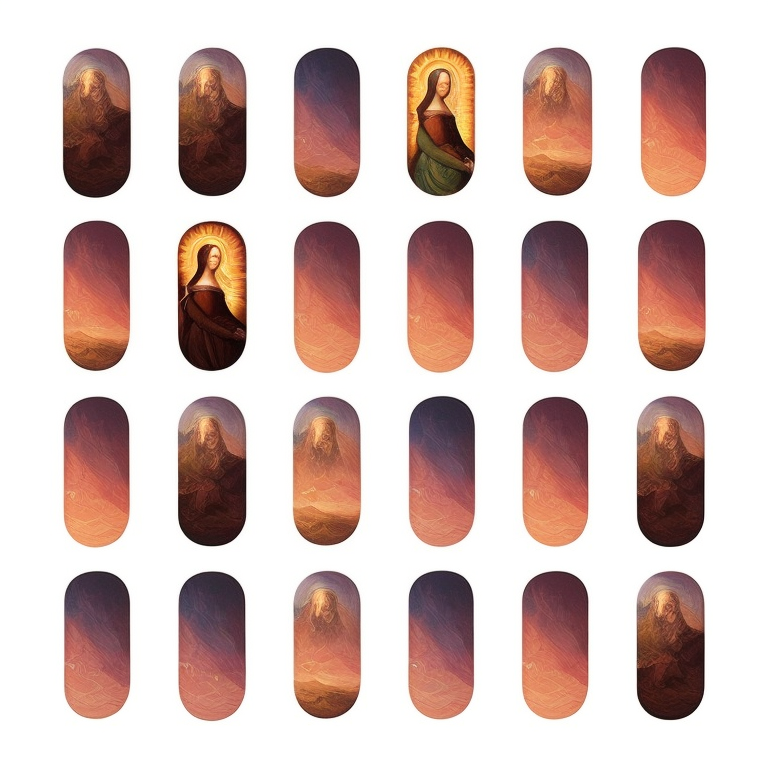
Leonardo da Vinci did spare out Nails, so we do it for him
The Mona Lisa, painted by Leonardo da Vinci, is one of the most famous paintings in the world. Her enigmatic smile and serene expression have captivated viewers for centuries, and her identity and the story behind the painting continue to fascinate art historians and enthusiasts.
In terms of her psychology, there have been many theories about Mona Lisa's state of mind and what she might be thinking or feeling. Some have suggested that her smile suggests she is content or even happy, while others see a hint of sadness or melancholy in her expression. It's possible that the ambiguity of her expression reflects Leonardo's interest in the human psyche and his desire to capture the complexity of human emotion.
As for her love life, there is little known about Mona Lisa's personal relationships. However, the painting itself has been interpreted as a representation of the idealized female beauty and a celebration of love. Some have suggested that Mona Lisa's gaze represents the idea of the beloved who is both present and absent, a concept that was popular in Renaissance literature and poetry.
Additionally, the use of light and shadow in the painting, known as chiaroscuro, creates a sense of depth and intimacy, drawing the viewer's attention to the figure of Mona Lisa and emphasizing her beauty and allure. The painting has been interpreted as a celebration of love and feminine beauty, reflecting the ideals and values of Renaissance society.
In summary, Mona Lisa's psychology and love life remain a mystery, but the painting itself has been interpreted as a representation of the idealized beauty and a celebration of love in Renaissance society.
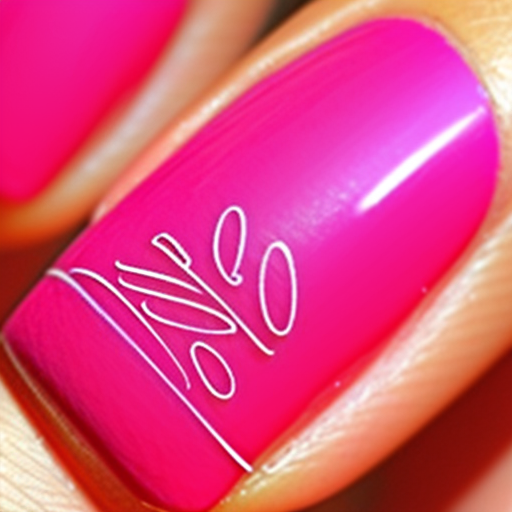
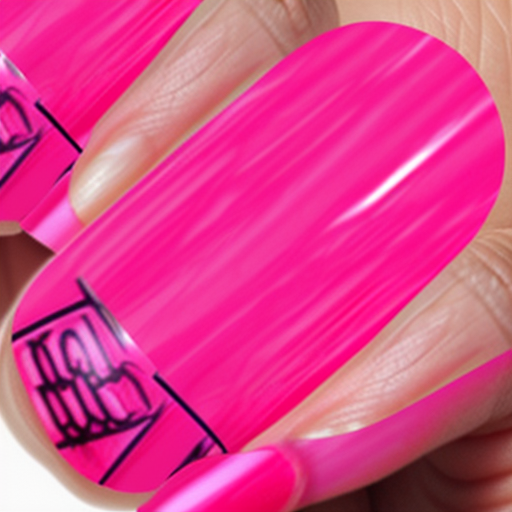
Pink Nails for mona?


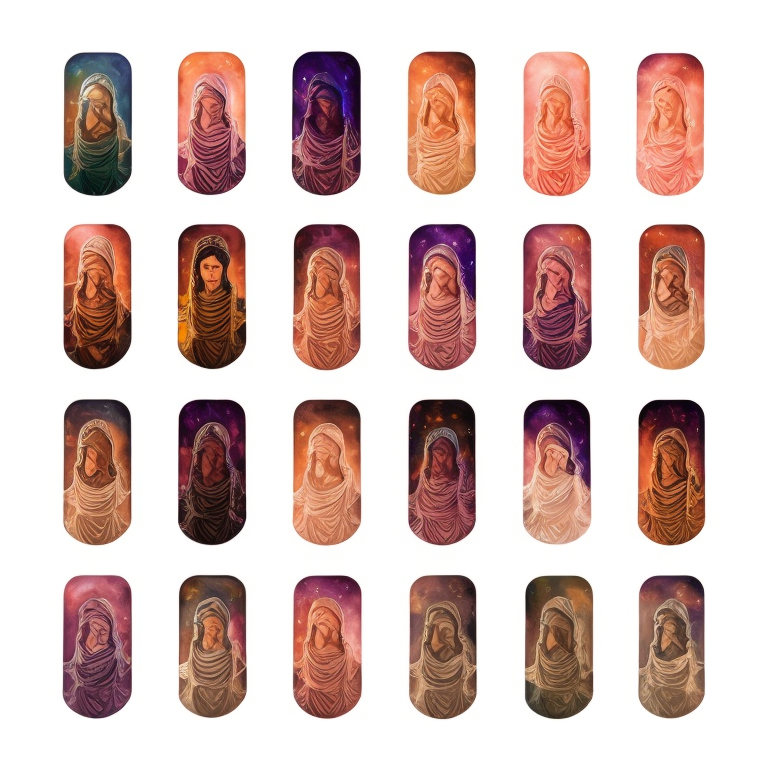
Create your Brand Mona Lisa


Who? Mona Lisa goes Stiletto via NailArtLover.com #monalisa #stiletto
Inspiration is good? Pick from our Gallery or Shop? Than I'd be happy to provide a tutorial on stiletto nail art. Here are the steps:
Materials:
- Stiletto-shaped acrylic nails
- Base coat
- Top coat
- Acrylic paint in your desired colors
- Detail brush
- Rhinestones, if desired
- Nail glue
Steps:
-
Start by prepping your nails. Clean and dry your natural nails and push back your cuticles. Apply a base coat to protect your natural nails and allow it to dry completely.
-
Apply the stiletto-shaped acrylic nails onto your natural nails using nail glue. Trim and shape the nails to your desired length and shape.
-
Apply a coat of your chosen base color to the nails and allow it to dry completely. You can also use a gradient of colors or create a color block design.
-
Using a detail brush and acrylic paint, create your desired design. You can use stripes, dots, flowers, geometric shapes, or any design you like. Be creative and have fun with it!
-
Once the design is complete, allow the paint to dry completely.
-
Apply a layer of top coat over the entire nail to protect your design and add shine.
-
If desired, you can add rhinestones or other embellishments using nail glue. Be sure to place them carefully and securely.
-
Allow the top coat to dry completely before using your hands.
And there you have it, a stiletto nail art tutorial! Remember to be patient and take your time with each step to achieve the best results.